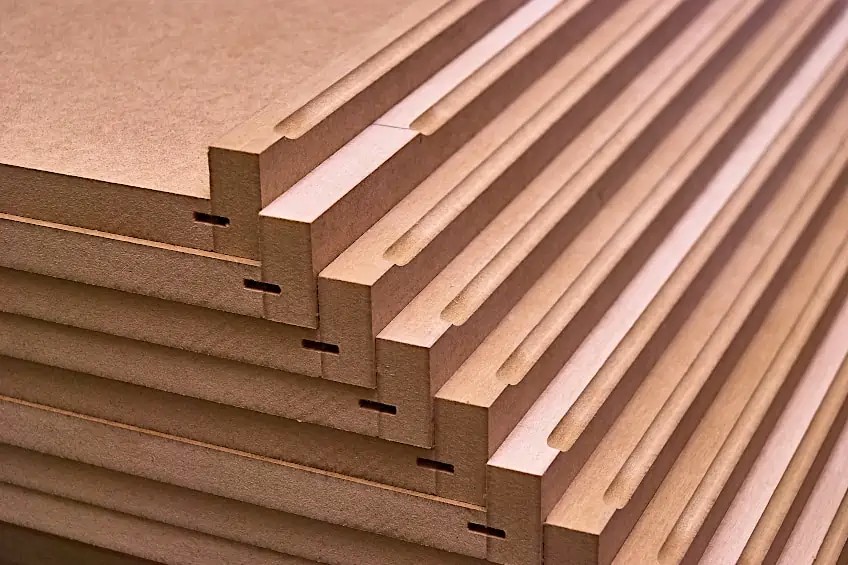
Medium-density fibreboard (MDF), is a versatile, often used, and equally priced material for woodworking projects including furniture creation and home renovation. It has smooth surface, and exceptional stability along with uniform density. This is the reason that it becomes the ideal choice for various applications. By following below given guidelines you can make sure to have a successful installation of 15mm Mdf sheets for your project.
Calculate and mark
The first step is to measure the space where the MDF sheets will be installed. Determine the height and width of the wall or surface you plan to cover using a measuring tape. Using a pencil and a straightedge or a T-square, precisely mark these measurements on the MDF boards.
Gather Tools and Materials
You will need a circular saw or jigsaw for cutting the MDF sheets, a drill with the appropriate bits for making pilot holes, screws or nails, a caulking gun, construction adhesive, a level, and finishing materials such as sandpaper and paint.
Cut the MDF Sheets
- Using the marked dimensions, cut the MDF sheets to fit your desired area.
- It is important to use a sharp blade and make smooth, straight cuts to achieve clean edges.
- When cutting, make sure to wear protective gear, such as safety goggles and a dust mask, to prevent any potential harm from the dust produced.
Prepare the Surface
Before installing the MDF sheets, ensure that the surface is clean and dry. Remove any existing wallpaper, paint, or debris that might affect the adhesion of the sheets. If the wall or surface is uneven, use a sanding block or a sander to smooth out any imperfections.
Apply Construction Adhesive
Apply a generous amount of construction adhesive to the back of the MDF sheet. The adhesive will help bond the MDF to the wall or surface. Be sure to spread it evenly across the entire surface to ensure proper adhesion.
Position and Secure the Sheets
Firmly press the MDF sheet against the wall or surface, aligning it with the marked measurements. Use a level to ensure that the sheet is plumb and level. Once in position, secure the MDF sheet by driving screws or nails into the studs or wall anchors.
Repeat the Installation
Continue cutting, applying adhesive, and installing the remaining MDF sheets following the same process until the whole area is covered. Take your time to align each piece accurately and double-check the level to maintain a consistent and professional-looking final result.
Fill and Sand the Joints
After all the MDF sheets are installed, use caulk or wood filler to fill any gaps or joints between the sheets. Once dry, sand the filled areas using fine-grit sandpaper to achieve a seamless appearance.
Finishing Touches
Once the joints are sanded, wipe off any dust and debris from the surface. You can now paint or finish the MDF sheets according to your preference. Apply multiple coats of paint or varnish, allowing each coat to dry before applying the next one. This will provide a durable and aesthetically pleasing finish.


Comments