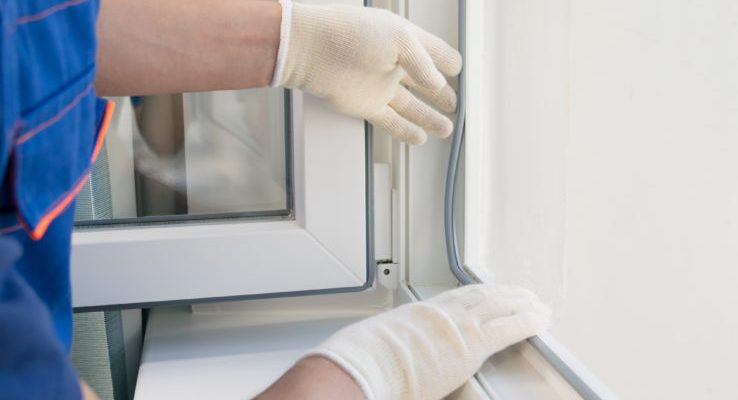
A new set of windows should make your home quieter, more comfortable, and easier to heat and cool. But when windows are installed incorrectly, you may notice the opposite-drafts, leaks, sticking sashes, and even rising energy bills. The tricky part is that a bad installation doesn’t always scream “problem” right away. Some issues show up within days, while others reveal themselves after the first heavy rain, cold snap, or humid summer.
Here are seven clear ways to tell if your windows were installed wrong-and what you can do next to protect your home (and your wallet).
1) You feel drafts, even when the window is closed
If you can feel air movement near the frame or sill, something isn’t sealed correctly. Drafts often come from gaps around the window unit, missing insulation in the rough opening, or poorly applied sealant/caulk on the exterior.
What to do next:
- On a windy day, run your hand around the edges of the frame and trim.
- Use an incense stick or thin tissue to spot airflow.
- If drafts are obvious, request a full inspection of the perimeter seal and insulation around the unit-not just a quick re-caulk.
2) The window is hard to open, close, or lock
New windows should operate smoothly. If you’re fighting the sash, forcing a latch, or noticing scraping, the unit may be out of square (not perfectly aligned). Even slight racking can cause long-term wear and compromised sealing.
What to do next:
- Don’t force it repeatedly-this can damage tracks, balances, or hardware.
- Document the issue with a short video showing the sticking or misalignment.
- Ask for the installer to verify level, plumb, and square, and to correct shimming/fastening.
3) There’s visible daylight or gaps around the frame
You should never see daylight between the window frame and the surrounding finish. Gaps may be hidden behind trim, but if you can see light or feel open spaces, it’s a strong sign the rough opening wasn’t properly sealed or the trim was installed to “cover” an uneven fit.
What to do next:
- Remove a small section of interior trim only if you’re comfortable (or have a pro do it) to check for insulation and air sealing.
- If gaps are present, the fix may require removing trim and properly insulating/sealing around the frame.
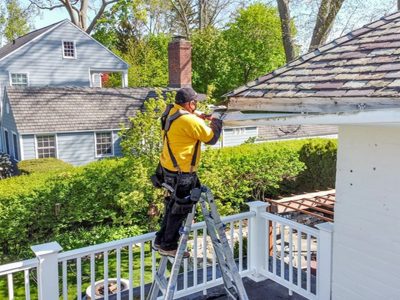
4) Water leaks or dampness shows up after rain
Water intrusion is one of the most serious signs of a bad window installation. It can come from improper flashing, missing water-resistive barrier integration, or poor exterior caulking strategy. Even a small leak can lead to rot, mold, and drywall damage over time.
What to do next:
- Take photos immediately and note the date/time and weather conditions.
- Check whether the leak is at the top, sides, or bottom-this can hint at flashing vs. drainage issues.
- Request a proper water test and inspection of flashing (not just more caulk). Caulk alone rarely solves a flashing failure.
5) Condensation builds up between panes (or the area feels clammy)
Condensation between glass panes usually points to a failed seal in the insulated glass unit (IGU). While that can be a manufacturing issue, poor handling or installation stress can contribute. Condensation on the interior surface can also be made worse by air leaks and poor thermal performance.
What to do next:
- If moisture is between panes, the glass unit often needs replacement under warranty.
- If it’s on the interior surface, improve indoor humidity control-but also check for drafts and cold spots that indicate installation gaps.
6) The trim looks warped, cracked, or hastily covered
Interior or exterior trim that looks uneven, pulled away, or strangely filled with caulk can be a visual clue that the window opening wasn’t prepared properly-or the unit didn’t fit correctly. Cosmetic shortcuts sometimes hide functional problems like improper shimming or inadequate sealing.
What to do next:
- Look for caulk lines that are excessively thick, messy, or already separating.
- Check for trim corners that don’t align or base pieces that tilt.
- Ask for verification that the window was installed to manufacturer specs, including fastener placement and shimming points.
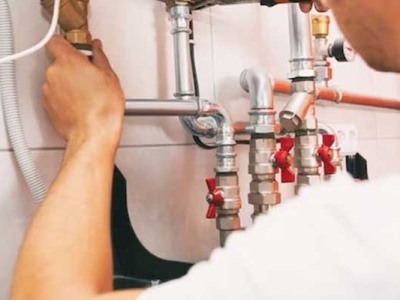
7) Your energy bills didn’t improve-or got worse
New windows aren’t magic, but they should reduce drafts and improve comfort if installed correctly. If you’ve replaced windows and still have cold rooms, hot spots, or a constantly running HVAC system, installation may be the missing piece. Air leakage around the frame can erase many of the benefits of upgraded glass.
What to do next:
- Consider a simple energy audit or blower-door test to identify leakage points.
- Focus on the window perimeter and any rooms that feel noticeably different from the rest of the home.
- If you’re researching window installation NY, look for installers who explicitly describe air sealing, insulation methods, and flashing practices-not just the window brand.
What to do if you suspect a bad installation
If one or more of the signs above sound familiar, don’t wait. Installation-related issues are often easiest to fix early-before trim is fully finished, before leaks cause damage, and before warranties become harder to use.
Here’s a smart next-step checklist:
- Document everything: photos, videos, dates, and notes on when issues occur (rain, wind, temperature changes).
- Review your paperwork: warranty details, scope of work, and any promised performance/installation standards.
- Request an inspection in writing: be specific about the symptoms (drafts, leaks, sticking, condensation).
- Ask for verification of basics: level/plumb/square, proper shimming, insulation in the rough opening, and correct flashing integration.
- Bring in a second opinion if needed: especially for water intrusion, persistent drafts, or repeated “quick fixes.”
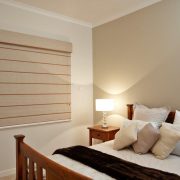
Windows should add comfort and confidence-not new headaches. If something feels off, trust your instincts, gather evidence, and push for a correction that addresses the root cause, not just the visible symptom.


Comments